This is an update of a blog post from 2014.
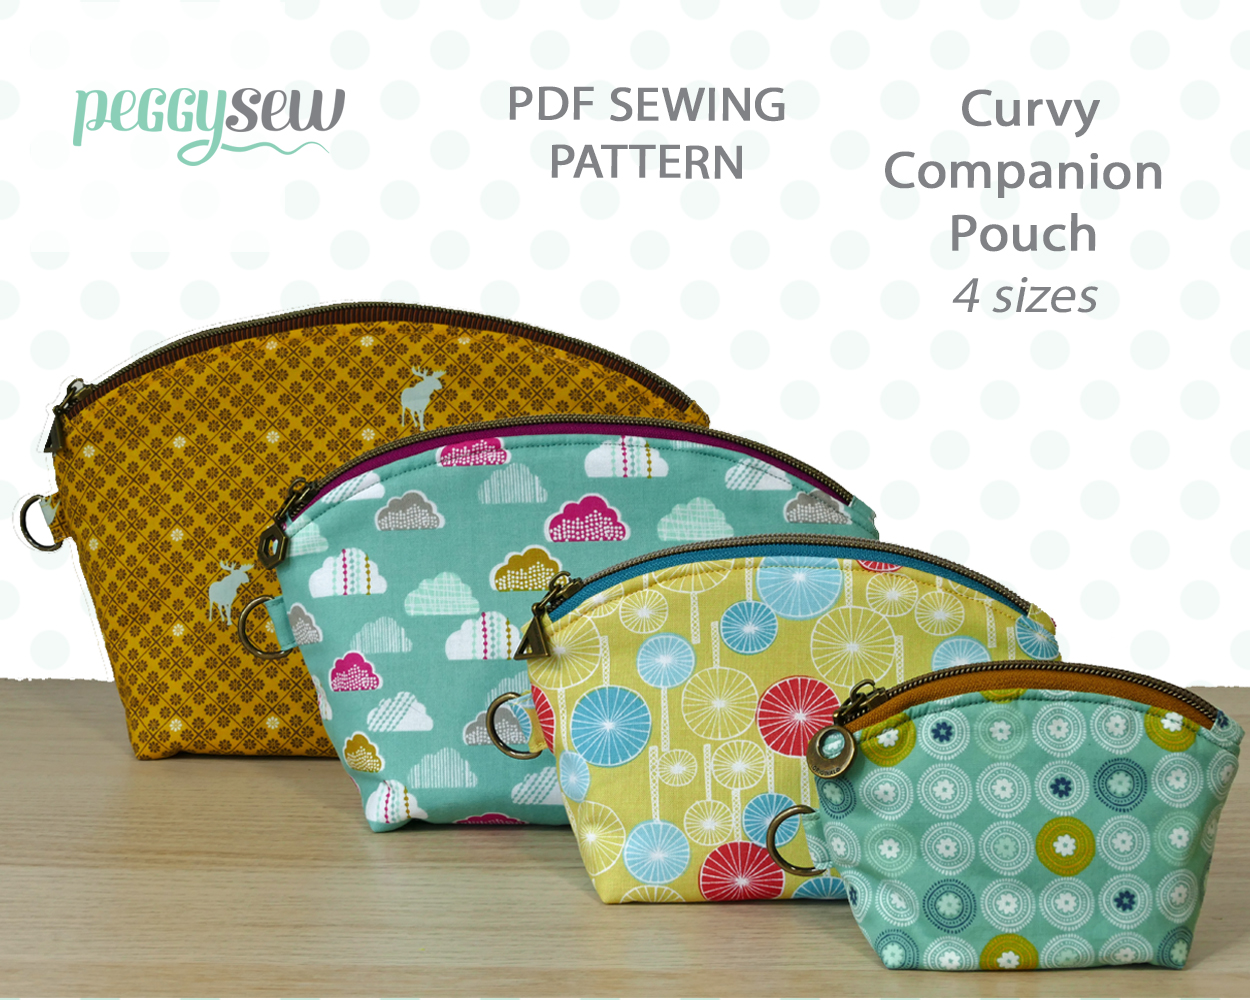
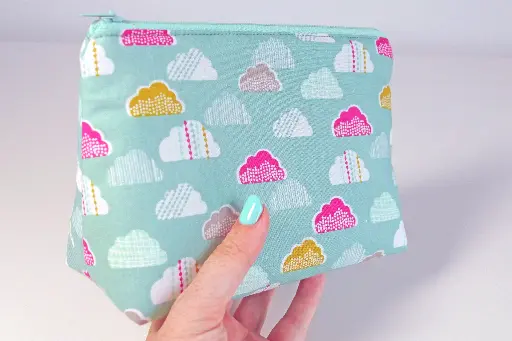
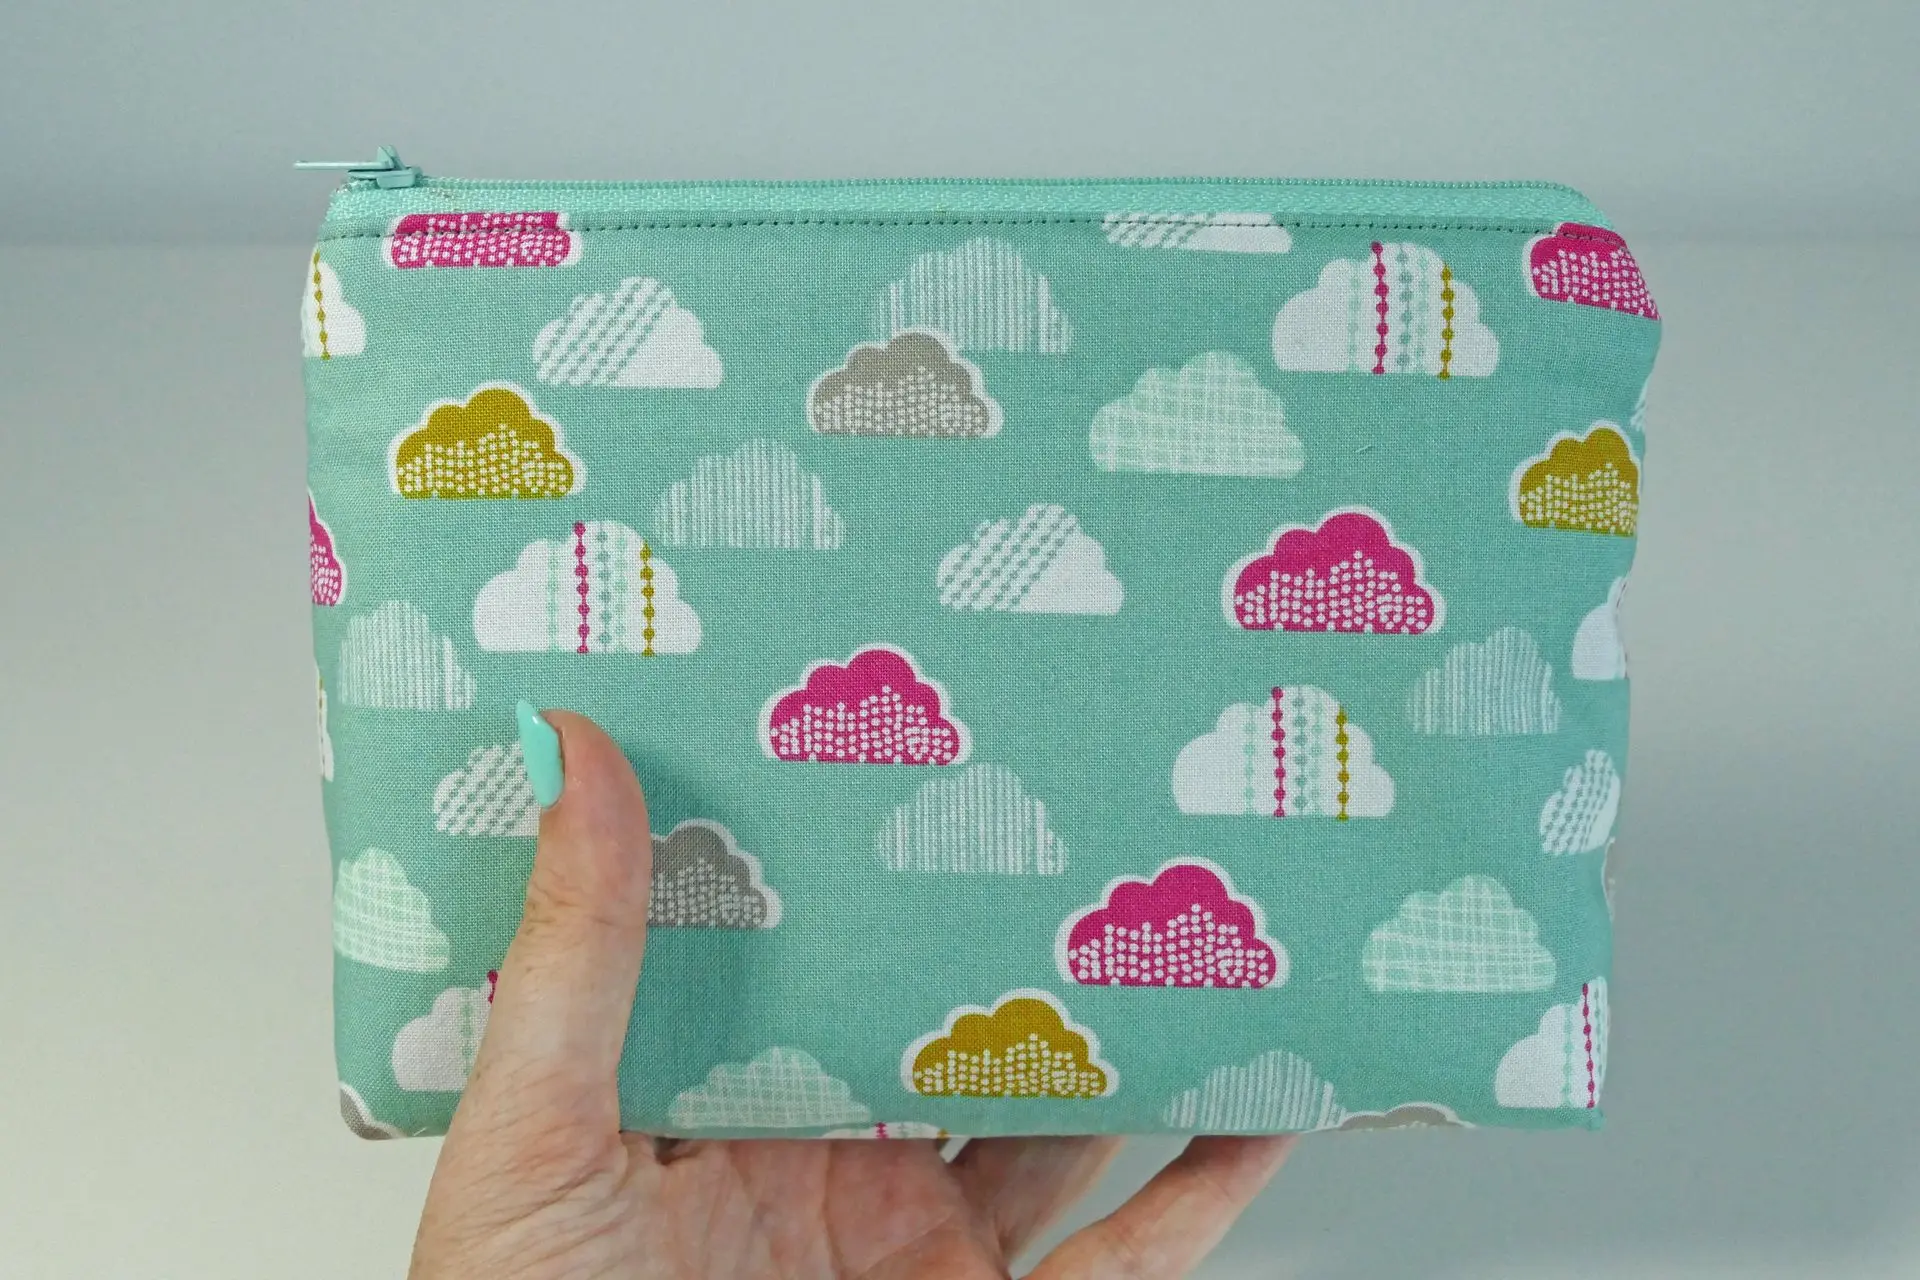
Zipper bags come in all shapes and sizes. Do you have a favorite pattern? I do! My favorite zipper bag is soft, stands upright on its own, and is quick and easy to make..
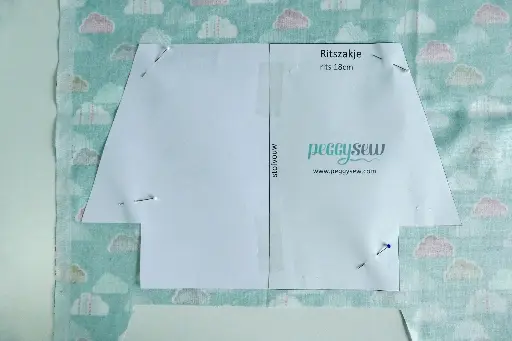
You can get the pattern and these instructions for free via this link.
Preparation
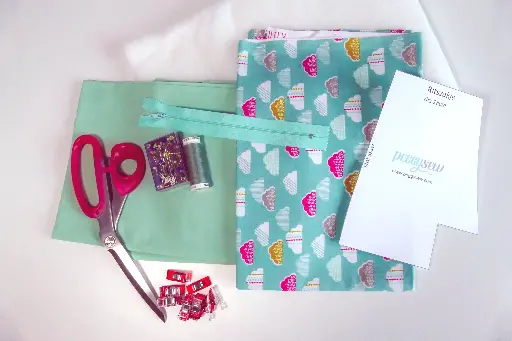
Materials Needed:
- Pattern (pattern includes a 1 cm (1/2") seam allowance)
- Zipper of 15 cm (6"), 18 cm (7"), 20 cm (8"), 22 cm (9"), or 25 cm (10") depending on the size of your bag
- Outer fabric: approximately 30x35cm (12"x14") for the smallest bag, approximately 45x55cm (18"x22") for the largest bag
- Inner fabric/lining: same as outer fabric
- Batting or volume fleece such as H640 or TP 971 F Fusible Thermolam: same as outer fabric
- Matching sewing thread
- Pins or clips
Cutting
Important: Fold your fabric in half and place your pattern against the fabric fold where indicated.
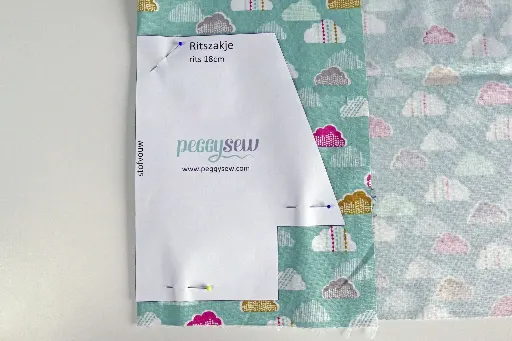
Or print the pattern piece twice and tape the pieces together.
In that case, you do not need to fold the fabric.
Cut:
- 2x pattern from outer fabric
- 2x pattern from lining fabric
- 2x pattern from batting or volume fleece
I often use inexpensive, thick batting for this type of pouch. You can sew the batting to the wrong side of the outer fabric by stitching or zigzagging within the seam allowance. Alternatively, you can place the batting between the lining and outer fabric and sew them together at the same time.
Do you prefer iron-on interfacing? That works too, just iron it onto the wrong side of the outer fabric first.
Let's get started
1. Sewing the zipper:
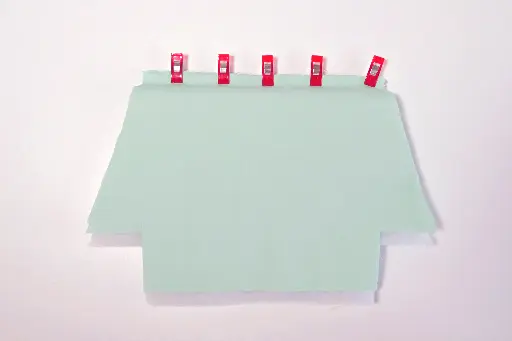
Place one piece of the outer fabric with the right side up. If you are using batting, place a layer of batting underneath.
If you are using iron-on interfacing, it should already be ironed onto your fabric.
Place the right side of the zipper against the right side of the fabric. You should now be looking at the back of the zipper.
If desired, baste the zipper in place with a large stitch 3 mm (1/8") from the edge
Now place the inner fabric on the outer fabric, with right sides together. The zipper is now sandwiched between the fabrics. Pin the fabrics and the zipper together.
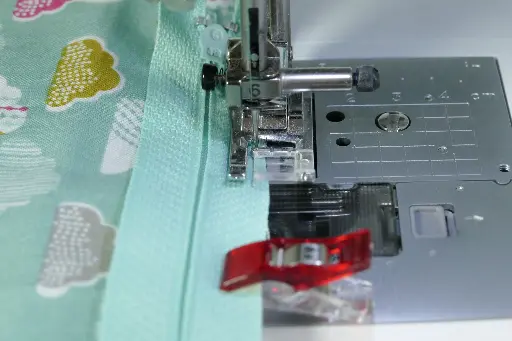
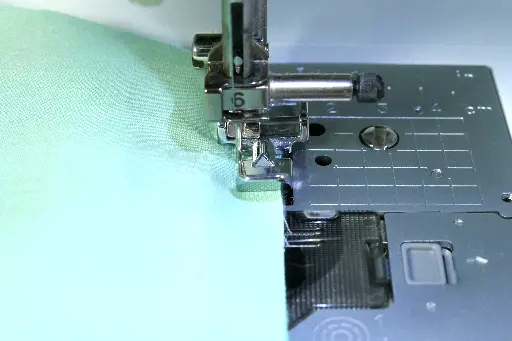
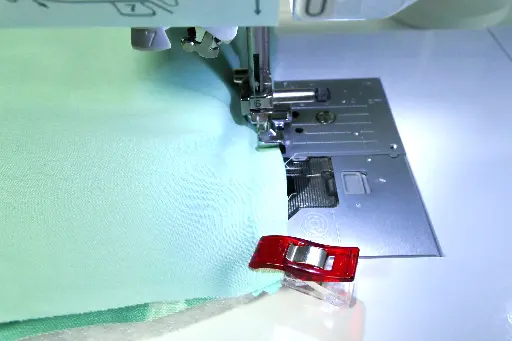
Sew the zipper between the fabrics, stitching +6mm (1/4") from the edge
Use your zipper foot for this, so you can stitch neatly along the zipper.
When you get close to the zipper pull, stop sewing, leave the needle in the fabric, and lift your presser foot. Pull the zipper pull past the needle to the other side. Lower your presser foot and continue sewing.
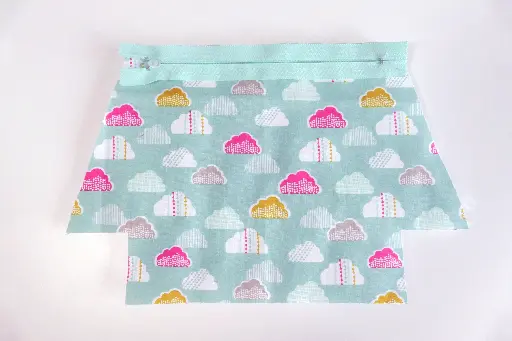
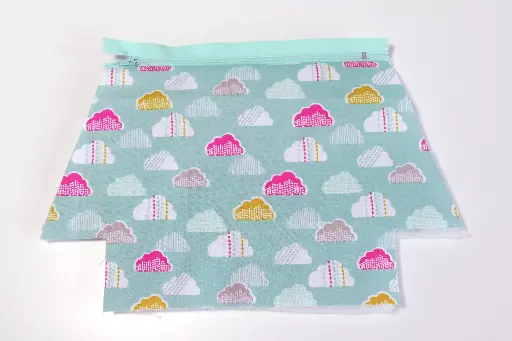
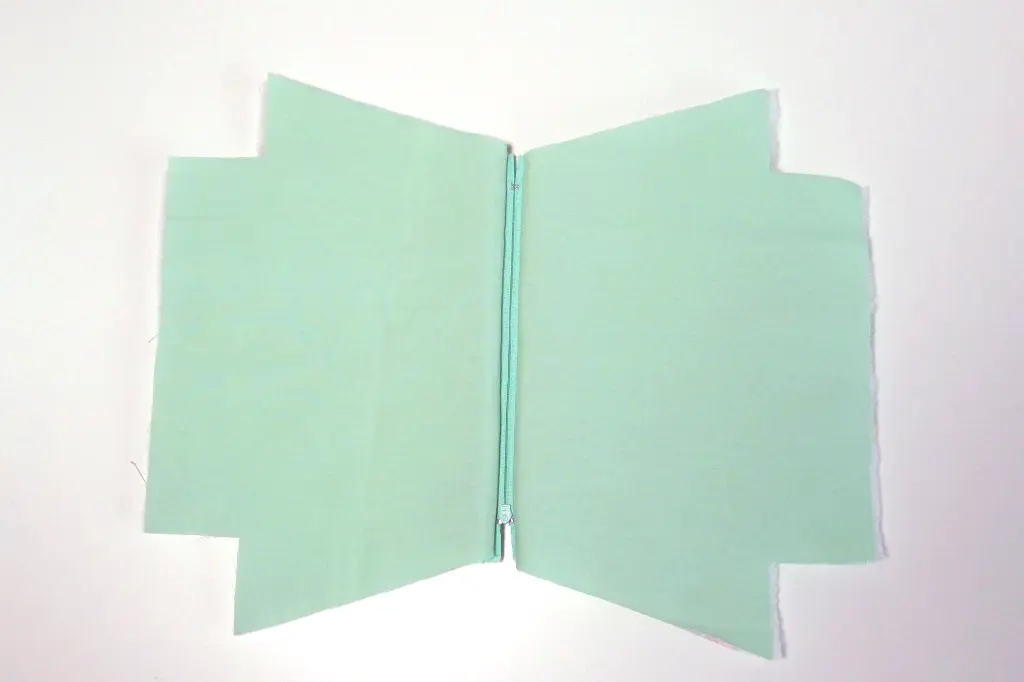
You should now have this:
Ready to sandwich again? The remaining fabric pieces need to be sewn to the free side of the zipper. Do the following:
Place another piece of outer fabric right side up (with the batting underneath if you haven't used fusible fleece), and place the zipper right side down on top of it. Your zipper will already have a piece of fabric attached to it, but you can just ignore that and proceed as usual.
If desired, baste the fabric to the zipper with a large stitch 3 mm from the edge of the zipper, just like before.
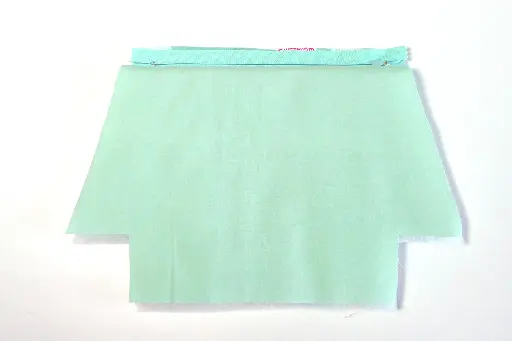
Place the lining fabric on the zipper with the right side of the lining fabric against the back of the zipper. Your zipper is once again sandwiched between the outer fabric and the lining.
Pin the zipper and fabrics together.
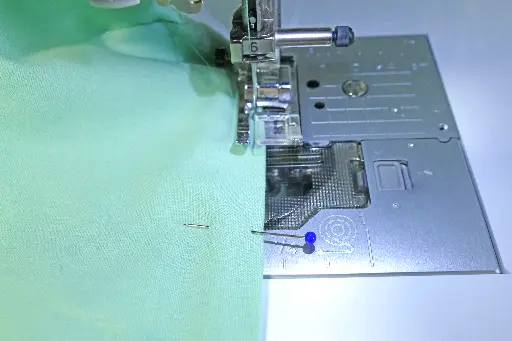
Sew the zipper in place with your zipper foot approximately 6 mm (1/4") from the edge.
You can use your zipper foot for this again. I usually use my regular zipper foot, as it provides more grip, and I set the needle in the far-left position.

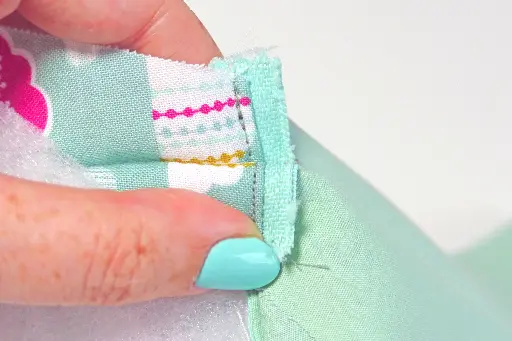
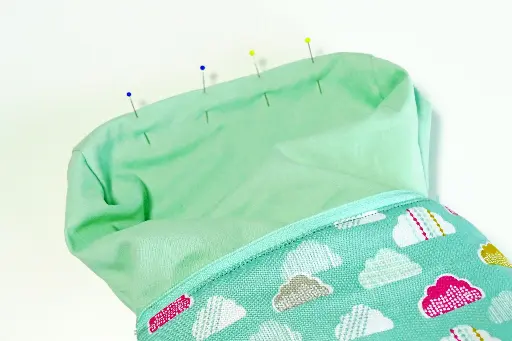
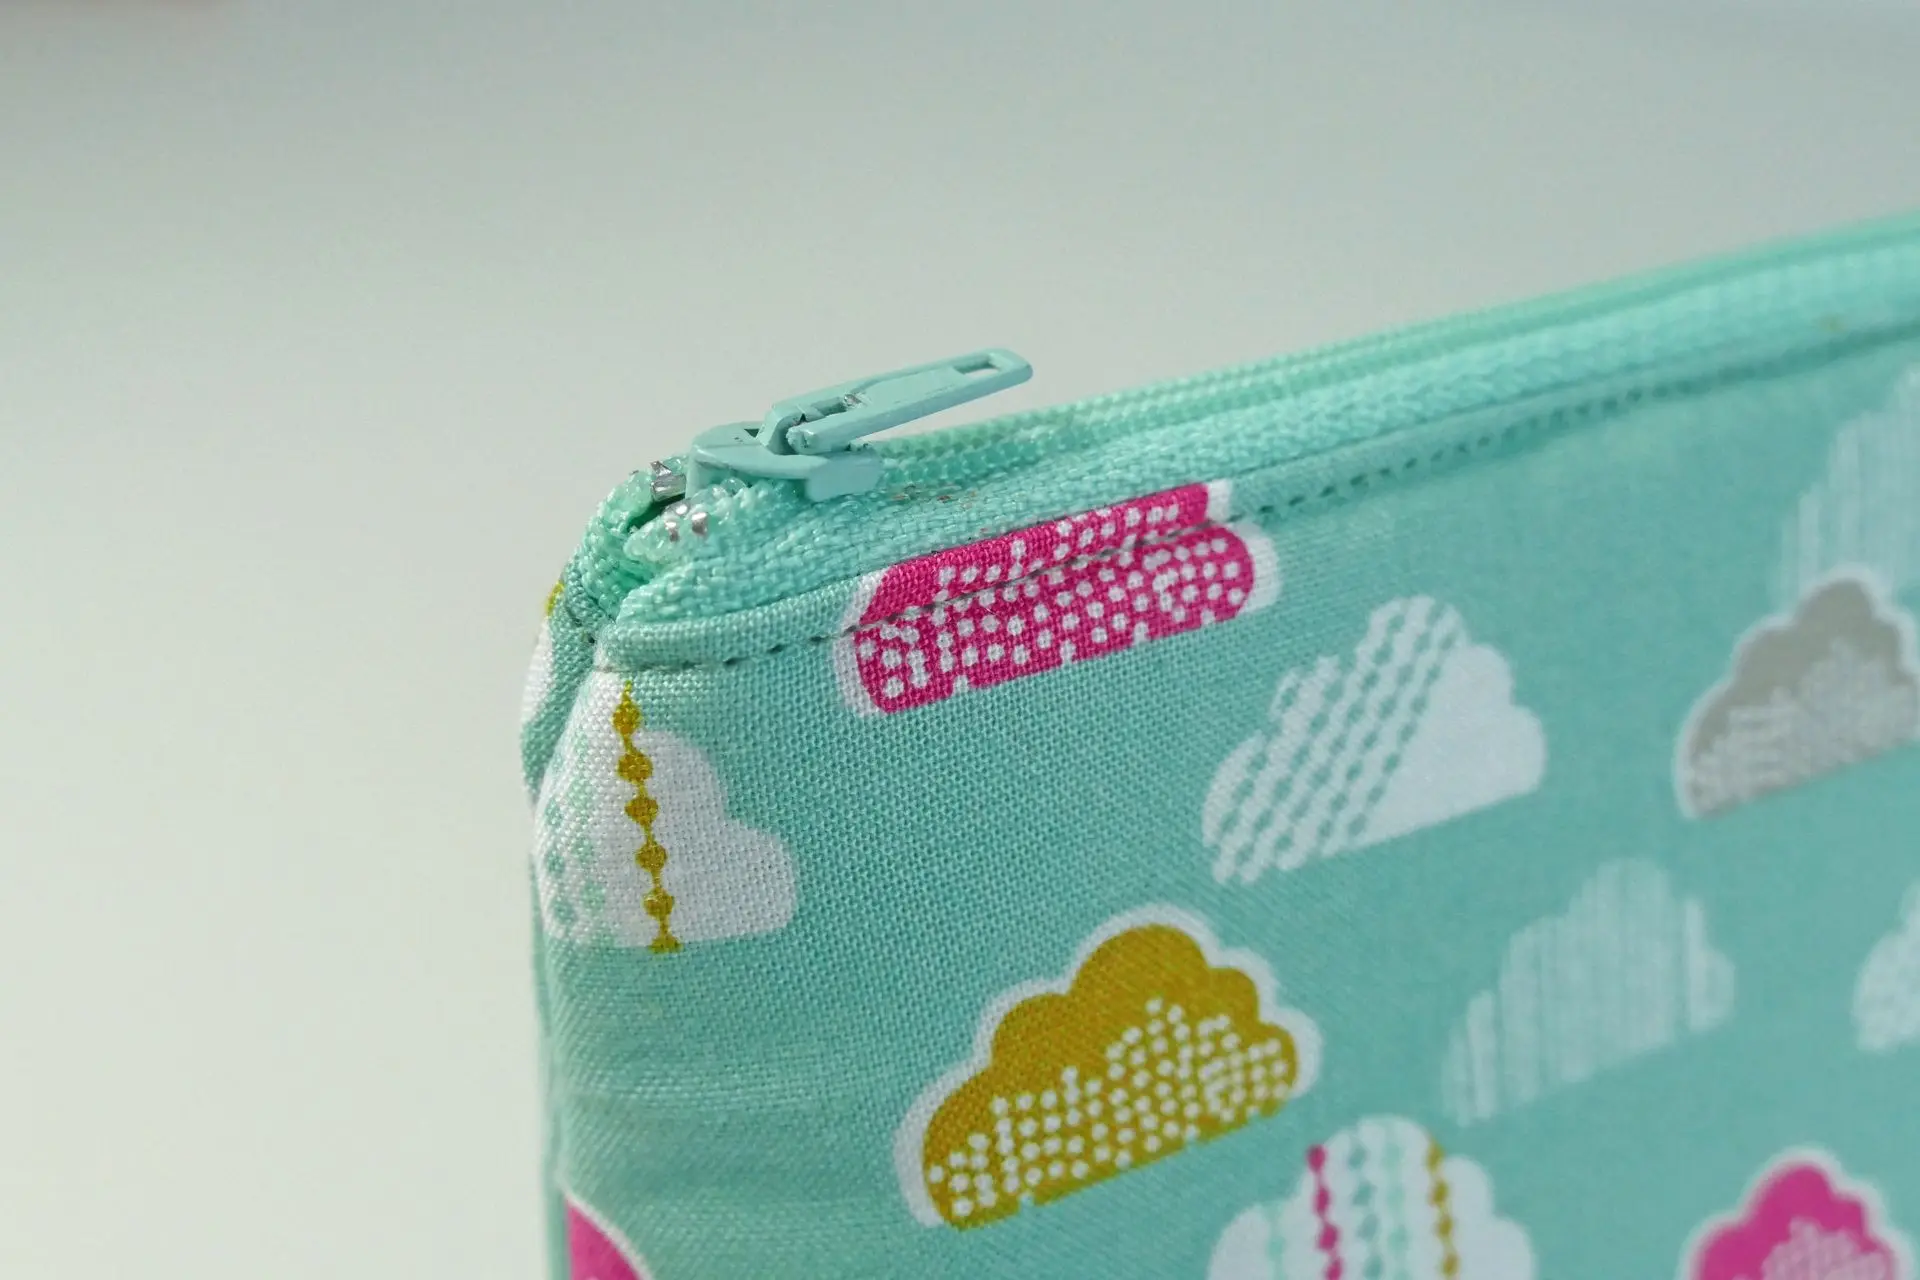
To prevent the fabric from getting caught in the zipper later, topstitch the fabric along the edge, parallel to the zipper.
You can use your zipper foot for this again. I usually use my regular zipper foot, as it provides more grip, and I set the needle in the far-left position.


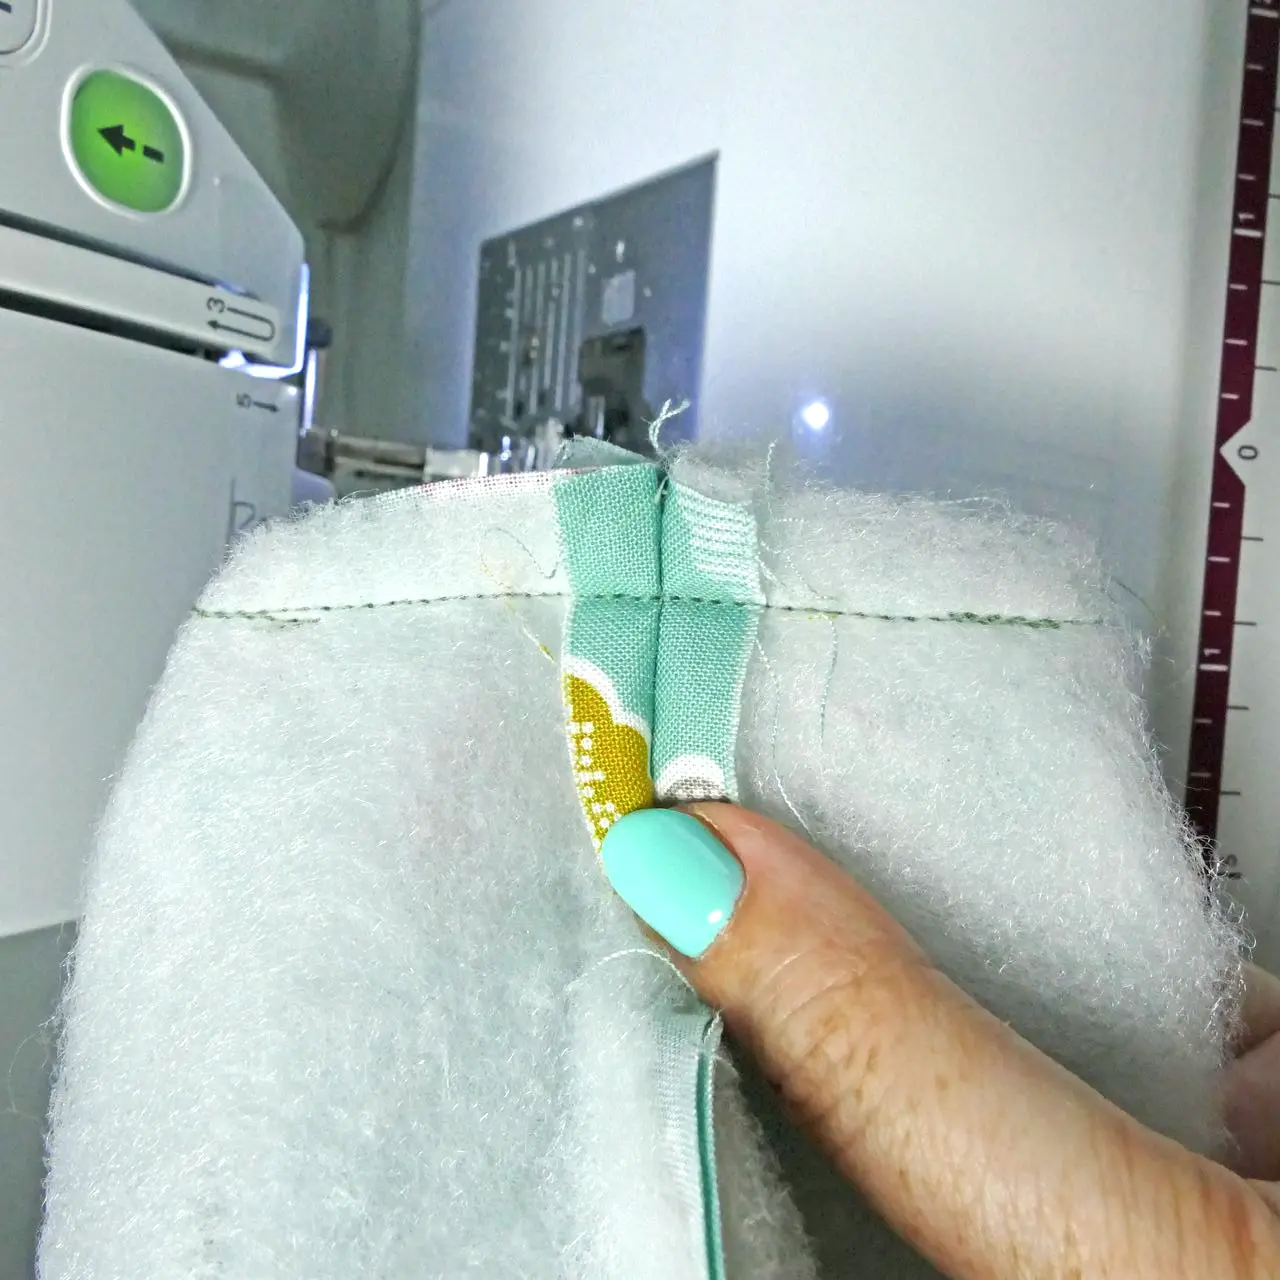
2. Sewing the fabric:
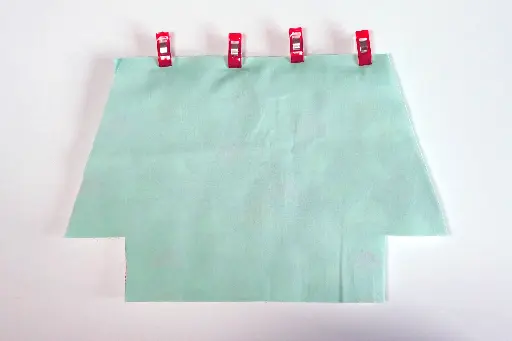
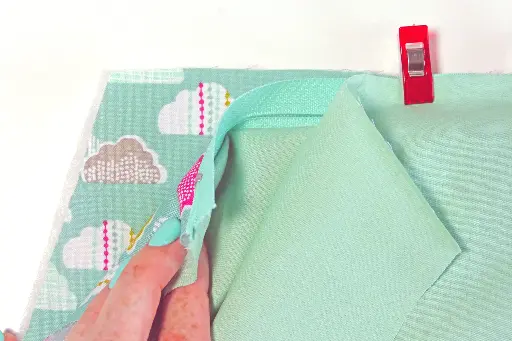
Place the right sides of the outer fabric together with the batting/interfacing behind it, and place the right sides of the inner fabric together.
Make sure the fabric edges align neatly at the zipper.
Pin in place and sew where the blue lines are drawn: you will sew all the seams except for the corners. Leave a gap of about 8 to 10 cm (3" to 4") in the lining. This will be your turning hole.

Before pinning everything together: make sure your zipper is open, otherwise you won't be able to turn the bag inside out later.
It's best to position the zipper teeth so that they face the lining fabric. This will give you the best result when turning the bag inside out.
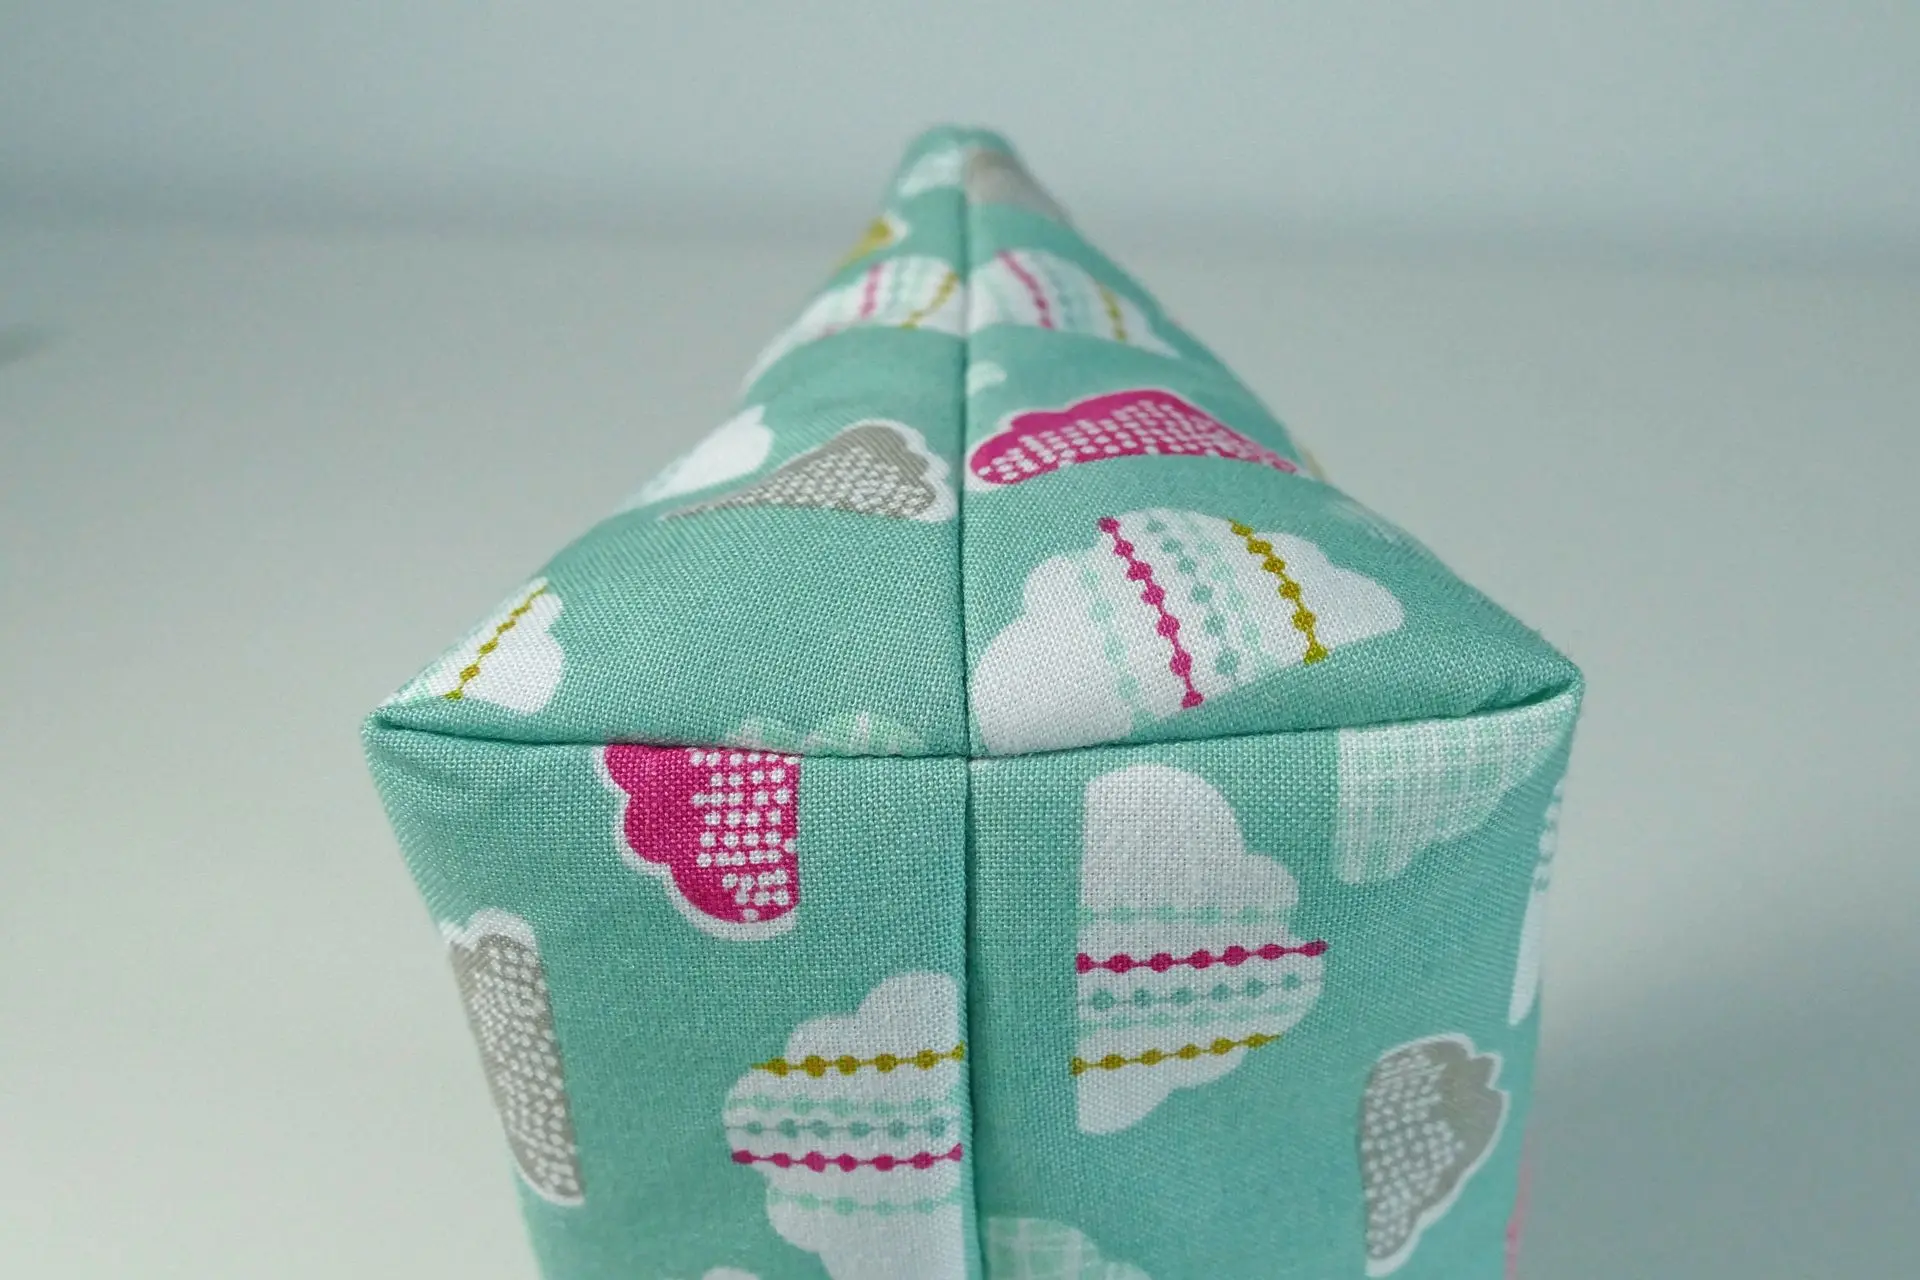
Finishing the Corners
Grab the corners that are still open and flatten them.
Make sure the already stitched seams line up.
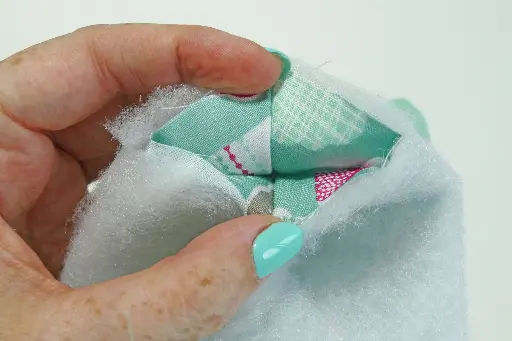
Sew where the blue line is drawn.

Repeat for the other three corners.
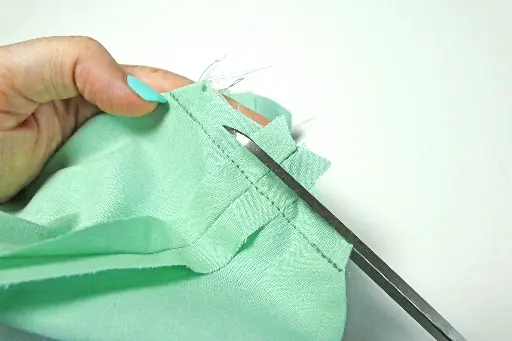
Cut away the excess fabric 1 cm above the seam.
Final Touches
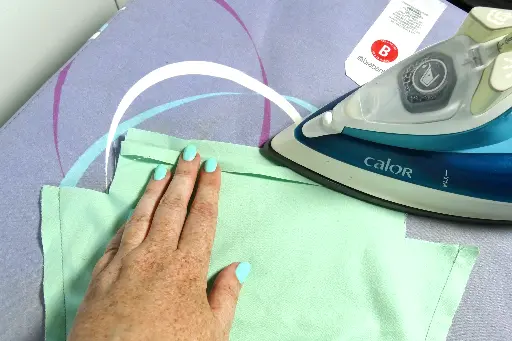
Press the seam of the lining flat. This will make it easier to stitch the gap closed later.
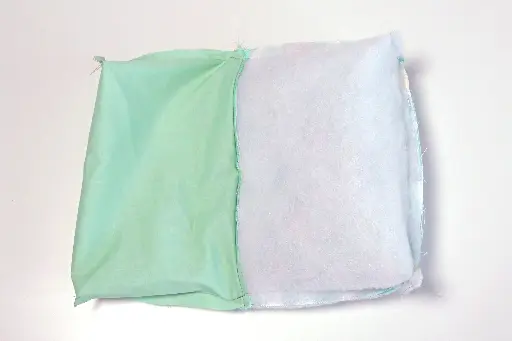
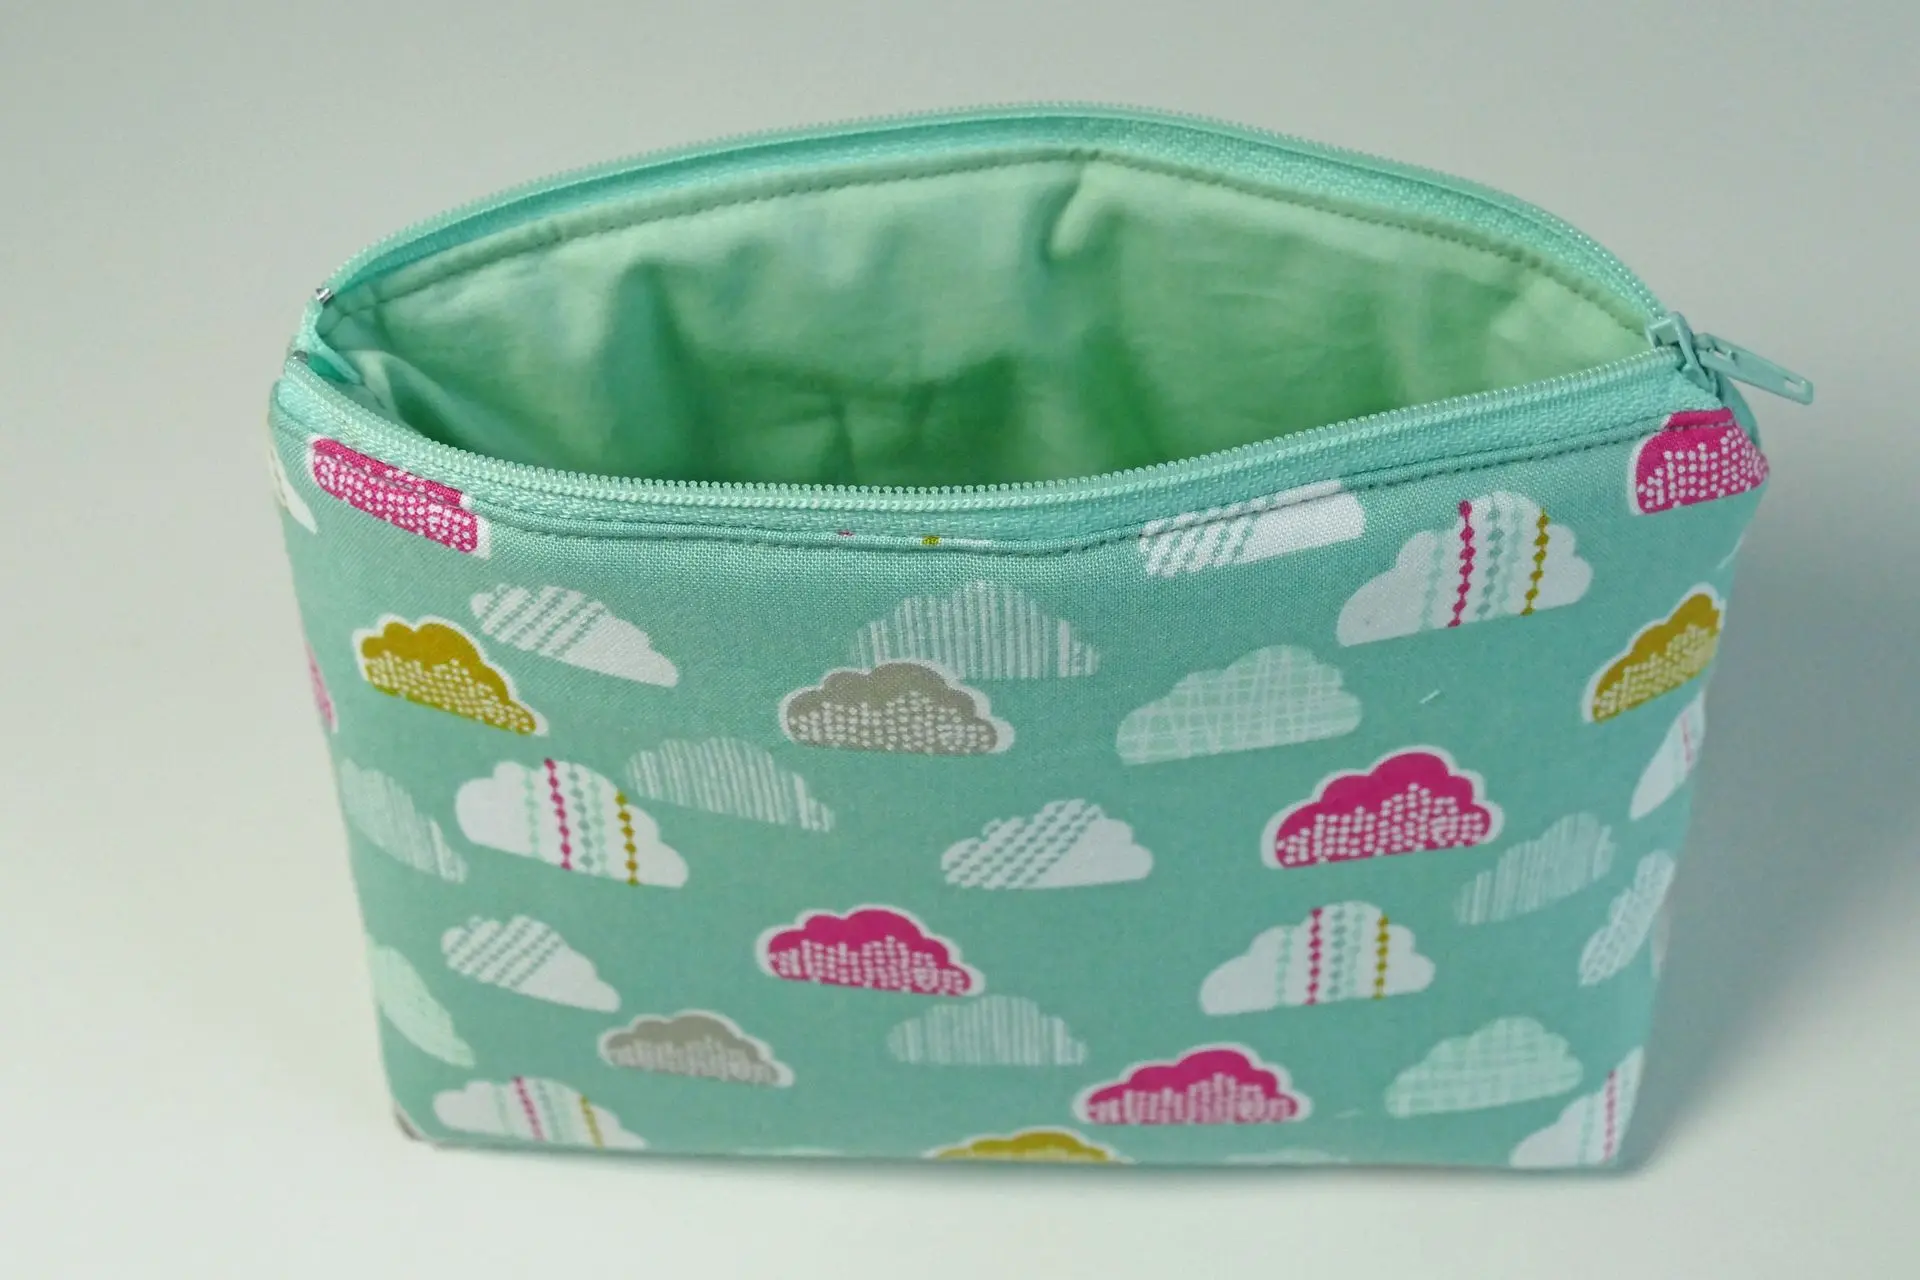
We're almost done! It's time to turn the bag inside out. Put your hand through the turning hole and turn the bag inside out. If you forgot to leave the zipper open earlier, it might be a bit tricky to open it now...
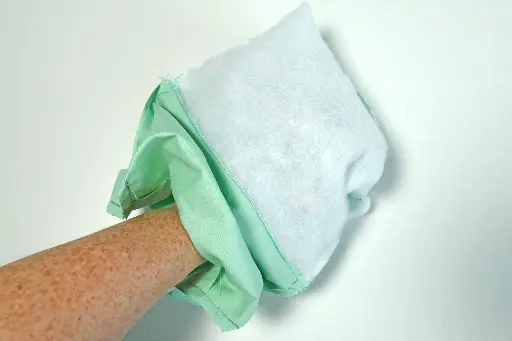
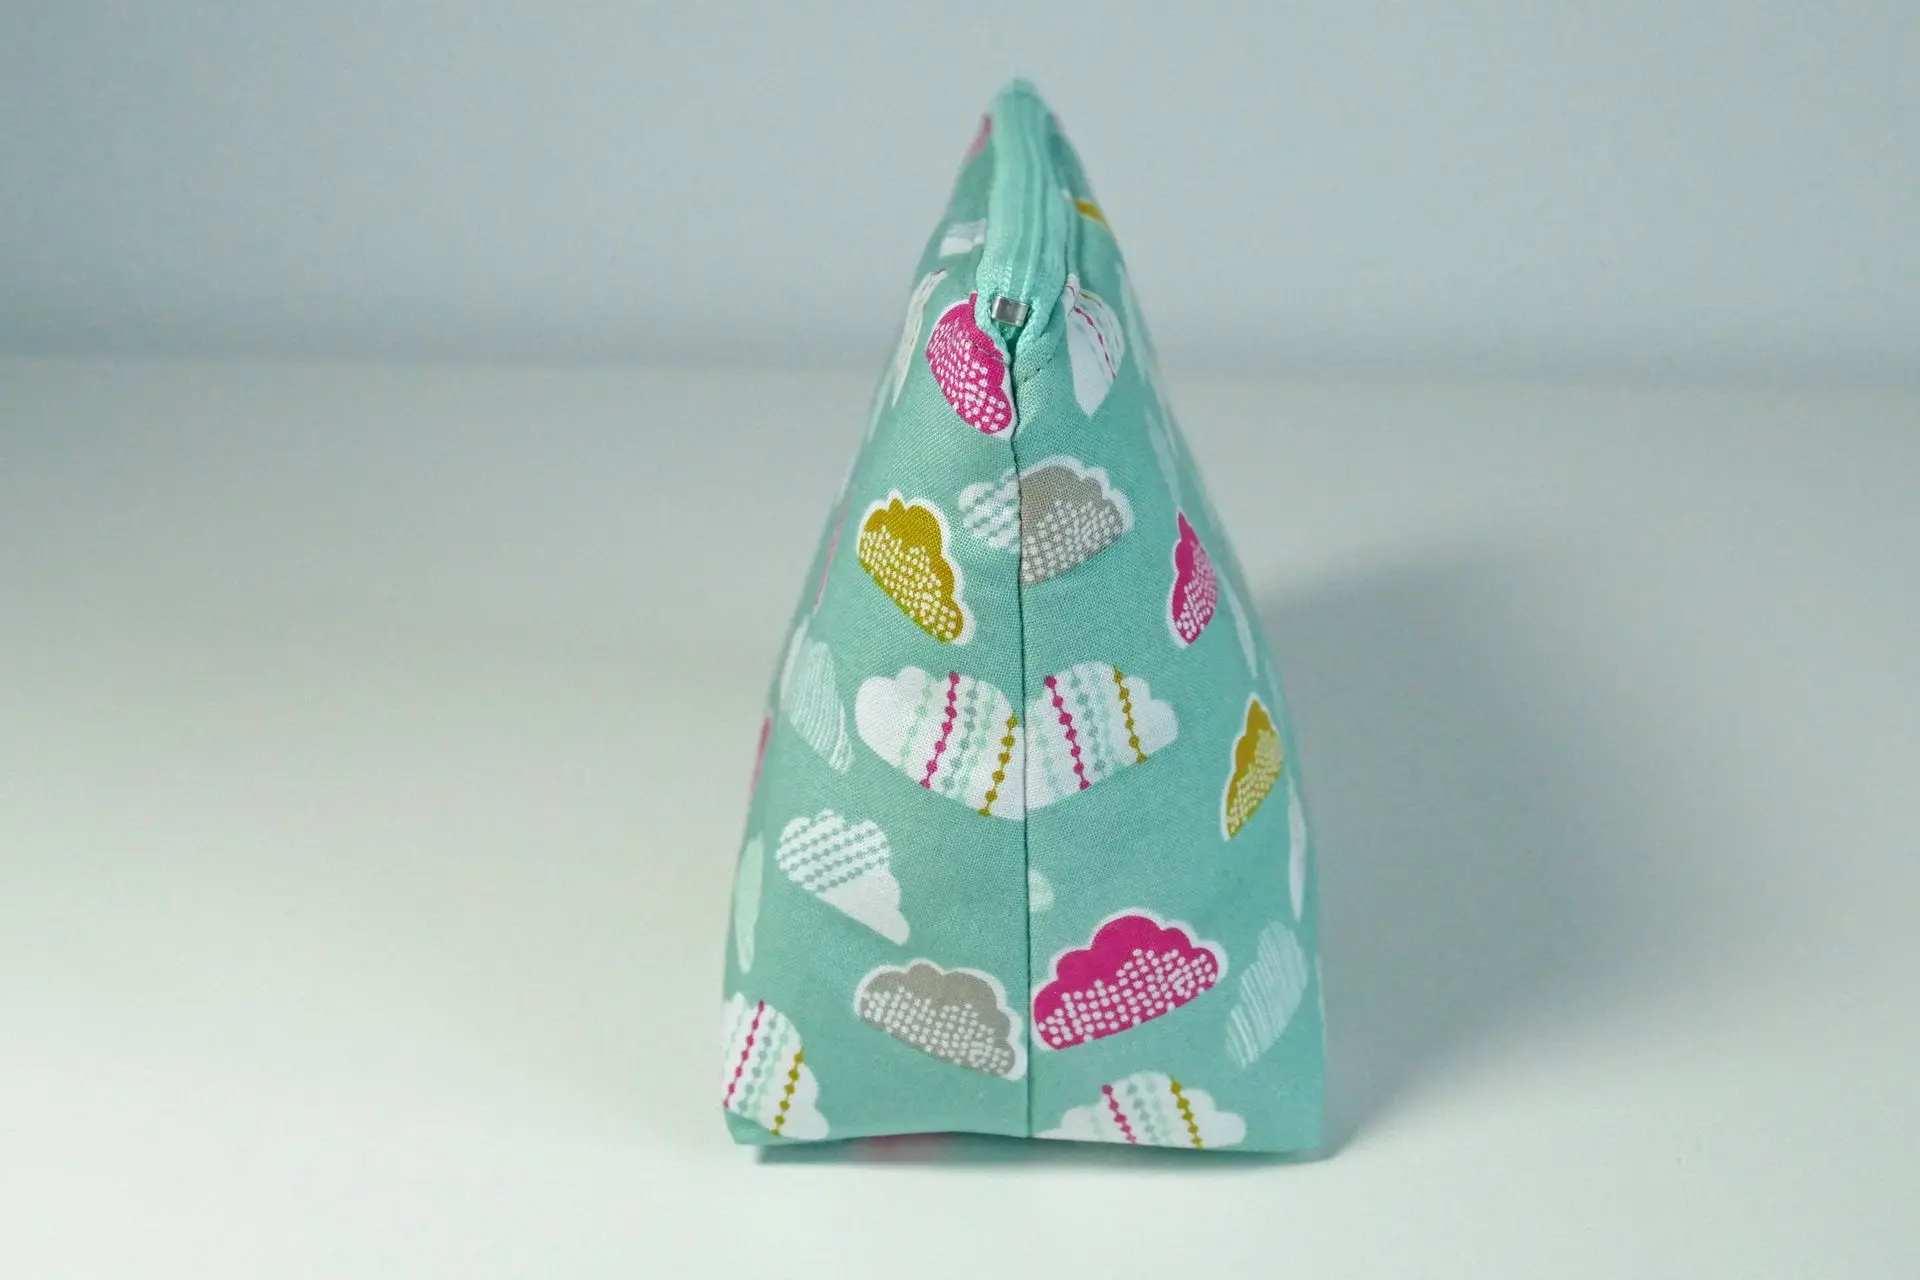
Push the corners of the outer fabric out well.
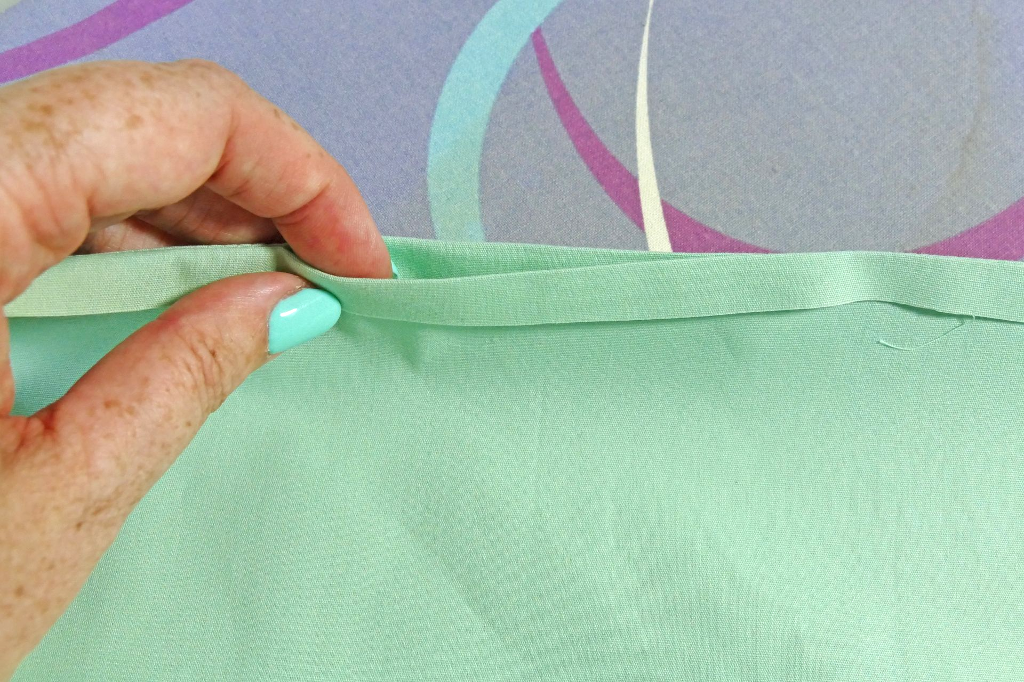
It looks good, right? There's just one hole left to close: the hole in your lining fabric.
Fold the seams inward and pin in place.
Sew right next to the edge that you pinned and tuck the lining back into the pouch.
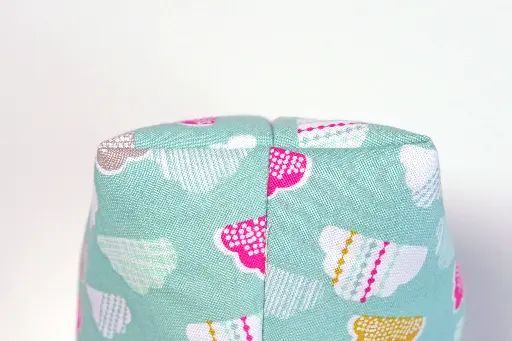
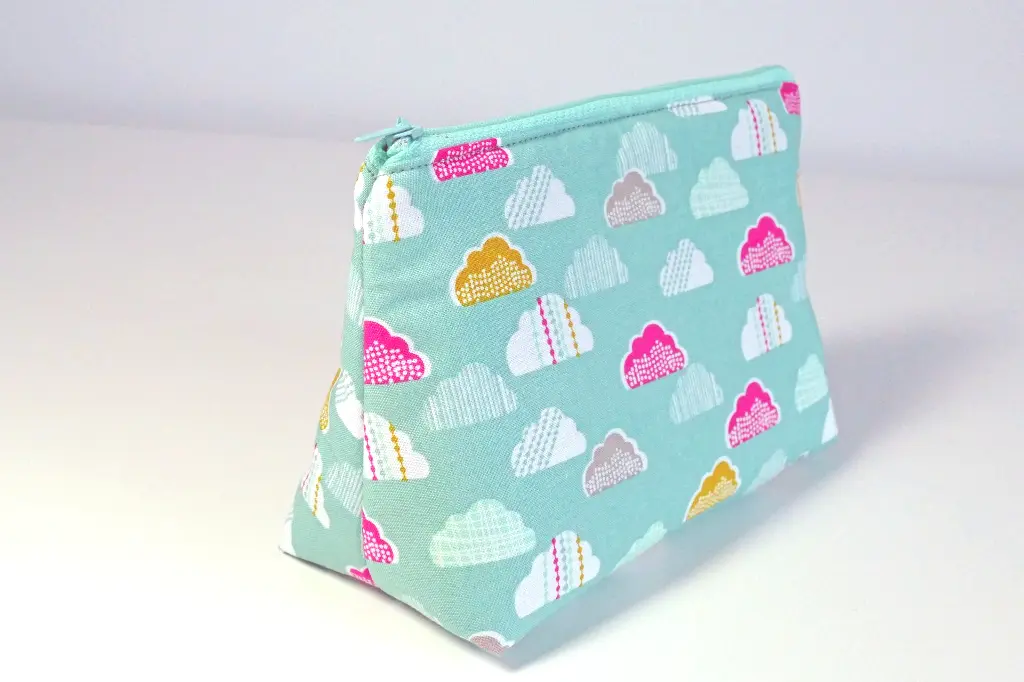
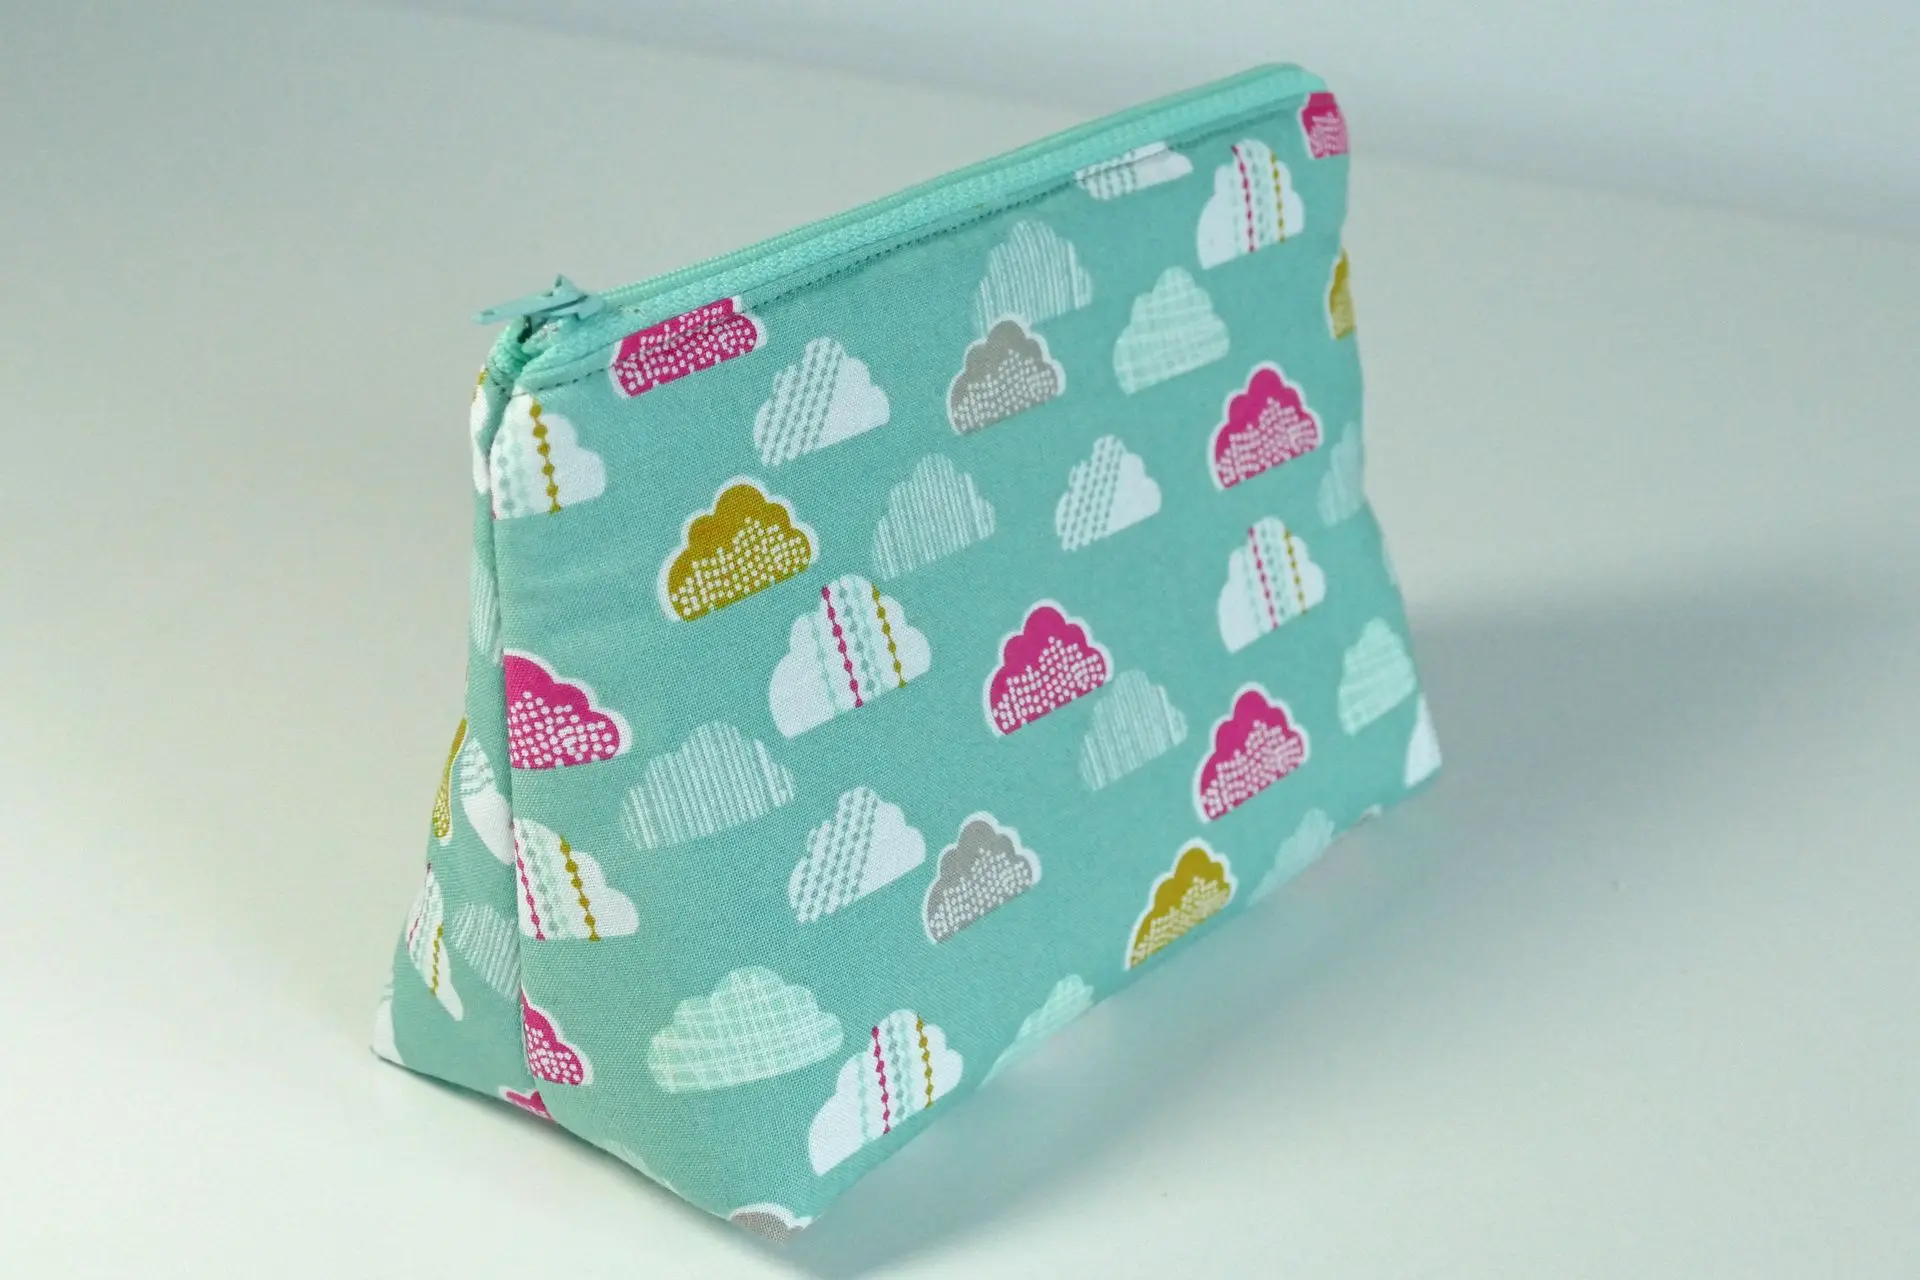
And ta-da! You have now made my favorite zipper bag. Maybe it will become your favorite too.
I’m totally okay with you selling bags made with this pattern, but please don’t sell the pattern itself. Share it for free via a link to this page.